X252 80-100W CO2 Laser Cutter
Creating 3D Puzzles Using GCC Products | GCC: Laser Machines Leader Since 1989
English
Applications
Showcase Video
Laser Engraver/Laser Cutter
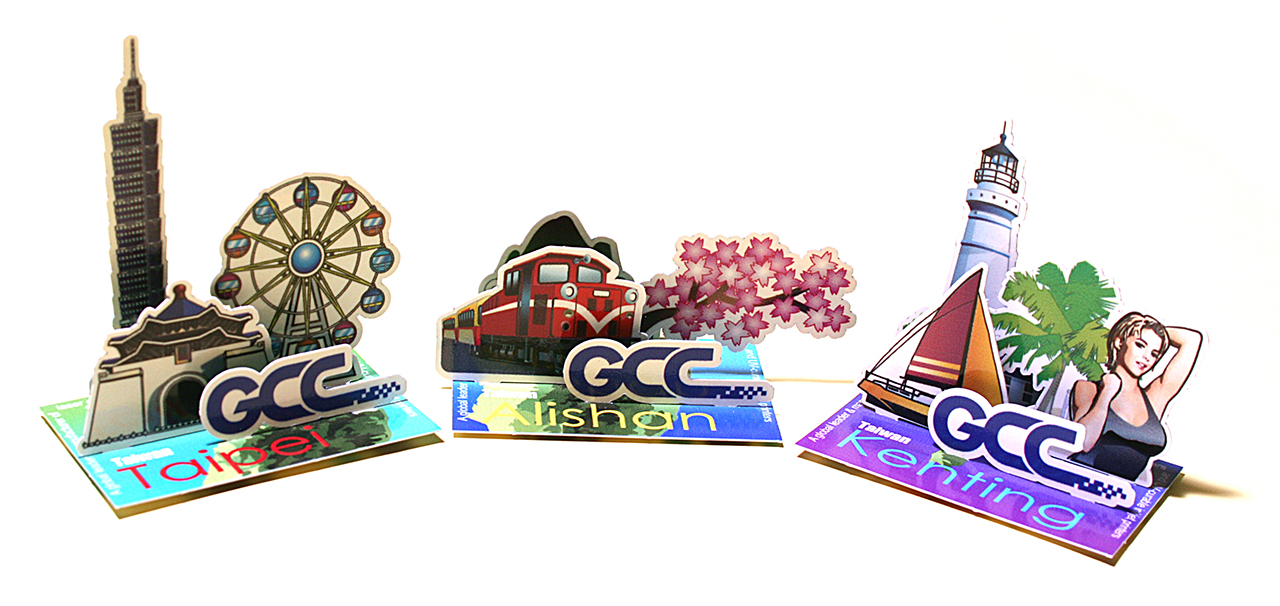
Creating 3D Puzzles Using GCC Products
The UV printer will first print a color pattern and then cut it utilizing both the Bridge Cutting and SmartCENTER functions of the laser engraving machine, which ensures that the cut object remains intact and is easier to organize.
Applicable Models
-
-
 S400 Dual Laser System Laser Engraver
 -
 X380 80-100W CO2 Laser Cutter
 -
 Spirit GLS Hybrid CO2 Fiber Laser Engraver
 -
 🆕 X500III Pro 100-150W CO2 Laser Cutter
 -
 Spirit LS 12-100W CO2 Laser Engraver
 -
 C180II 12-40W CO2 Desktop Laser Engraver
 -
 T500 60-200W CO2 Laser Cutter
 -
 Spirit 12-100W CO2 Laser Engraver
 -
 Mercury III 12-80W CO2 Laser Engraver
 -
 MG380Hybrid 12-100W CO2 Laser Engraver
 -
 MG380Hybrid 12-100W CO2 Laser Cutter
Details
Bridge Cutting is a new feature provided in GCC LaserPro driver that allows users to convert the original lines into dashed lines by controlling the laser energy.
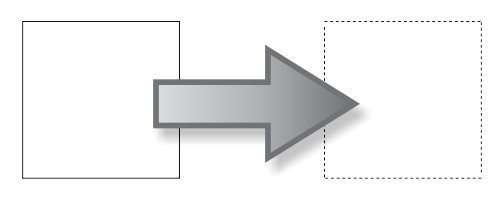 ▲ The Bridge Cutting function can convert and output lines as dashed lines. |
Previously, Showcase has also utilized the Bridge Cutting function to create related themes, using Bridge Cutting to create creases in paper boxes, making them easier to assemble.
 ▲ The Bridge Cutting function can convert and output lines as dashed lines. |
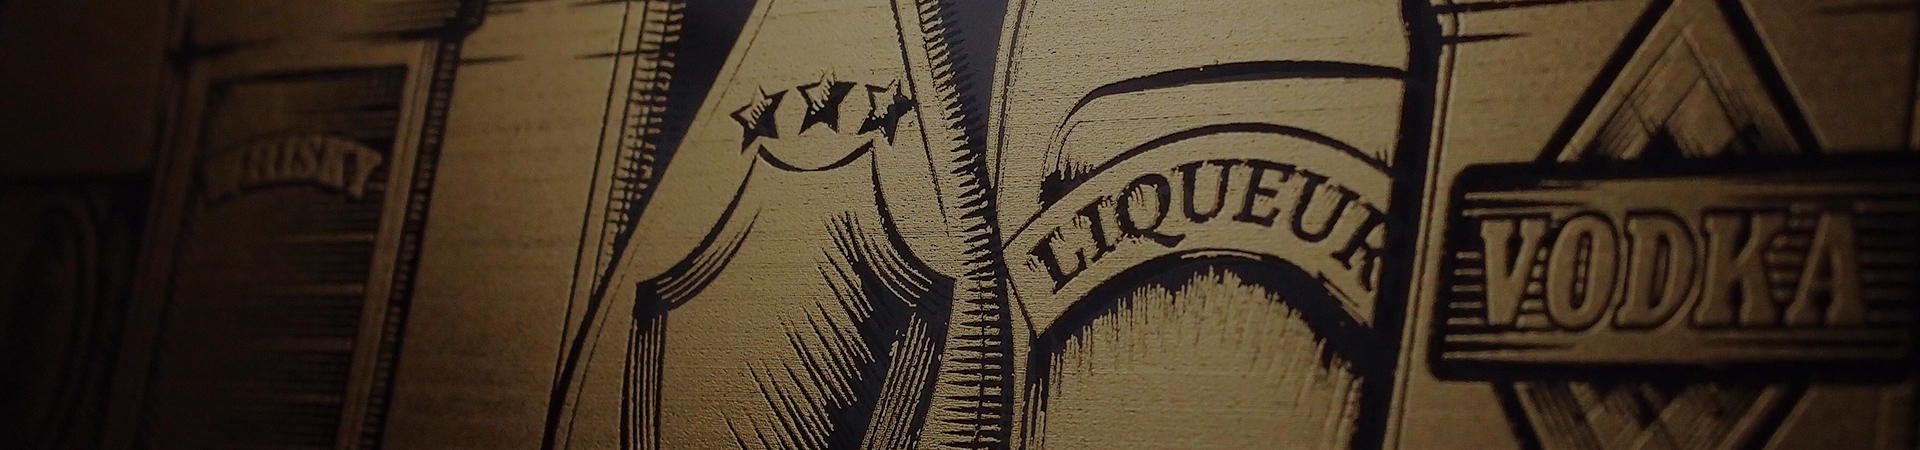
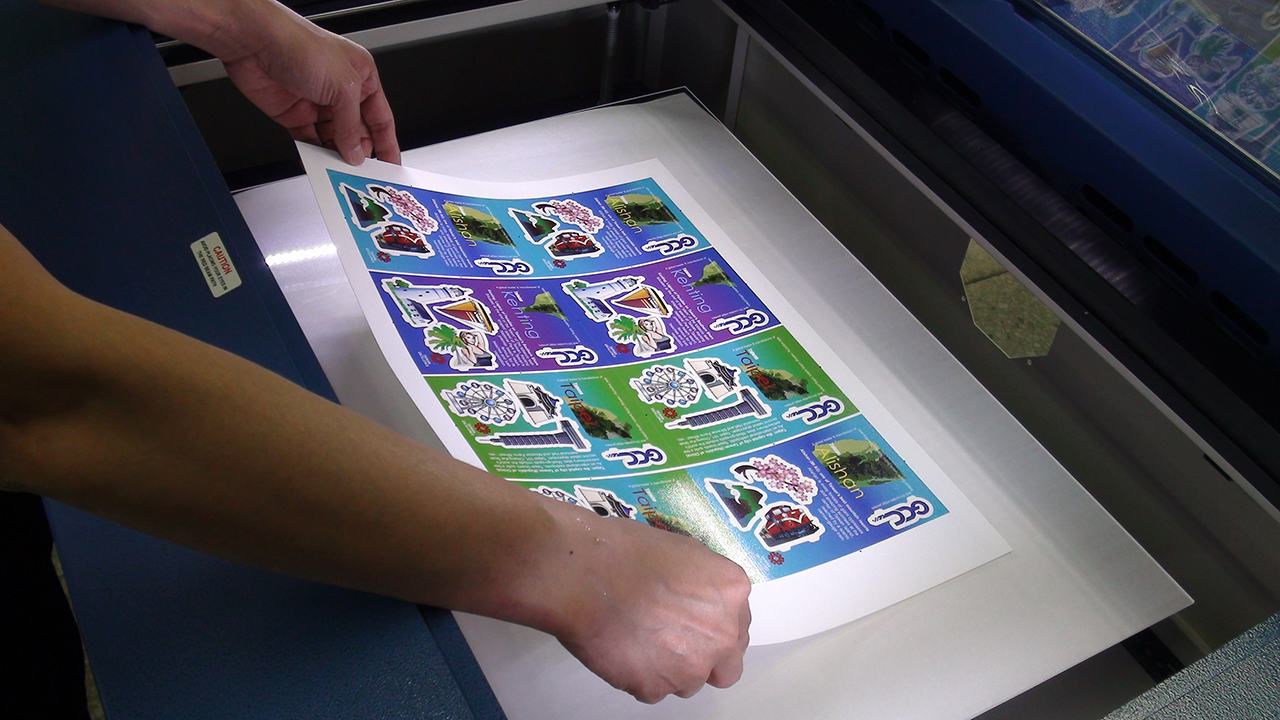
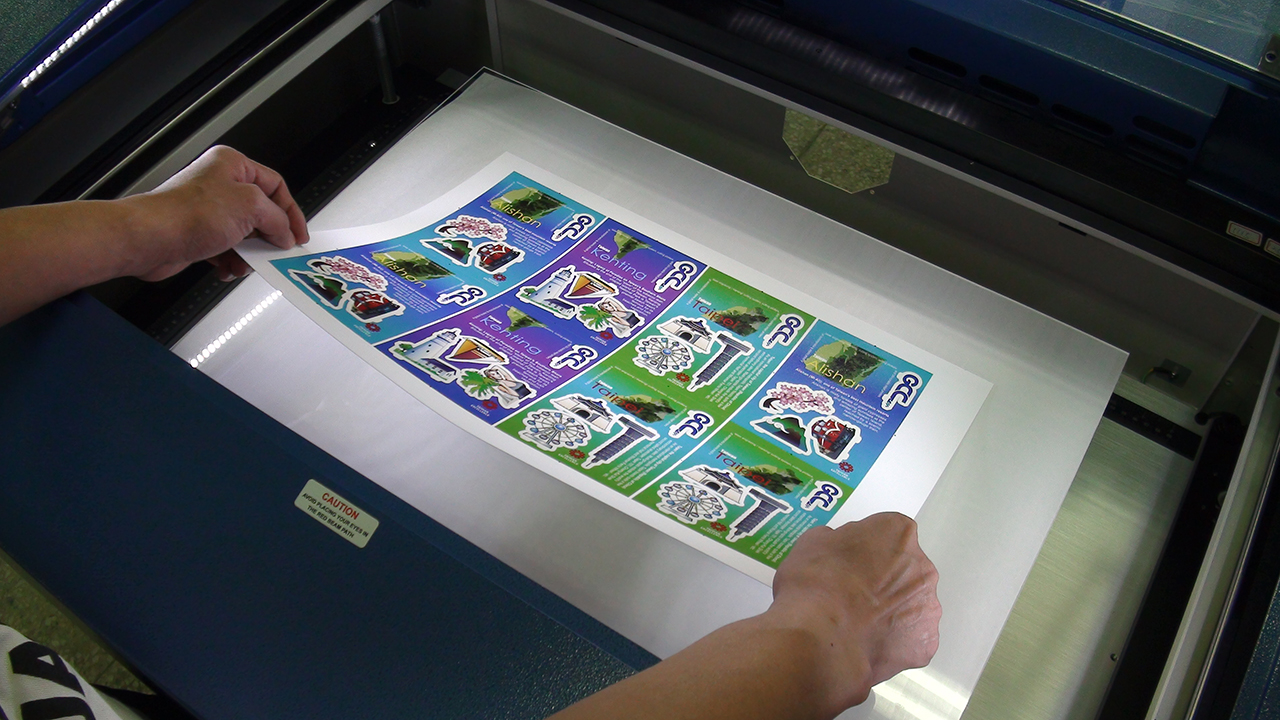
The application of Bridge Cutting is not only limited to creating creases but also extends to various other applications. In this showcase, the GCC LaserPro laser system and UV printer will work together. The UV printer will first print a color pattern and then cut it utilizing both the Bridge Cutting and SmartCENTER functions of the laser engraving machine, which ensures that the cut object remains intact and is easier to organize.
Materials:
‧Cardboard 350g/m2
Procedures:
Step 1. Place the printed paper on the platform.

Step 2. Press the auto-focus button for automatic focusing.

Step 3. Check the Bridge Cutting and SmartCENTER options on the Driver, adjust the parameters accordingly, and then send the file to the laser machine.
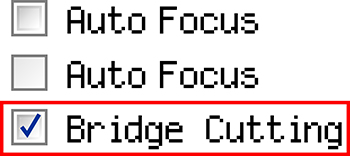 | 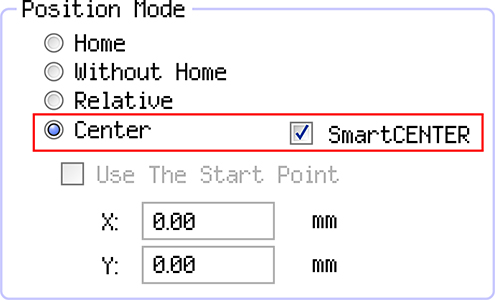 |
| ▲ Check the Bridge Cutting function on the Pen page, and check the Center and SmartCENTER options on the Advance page. | |
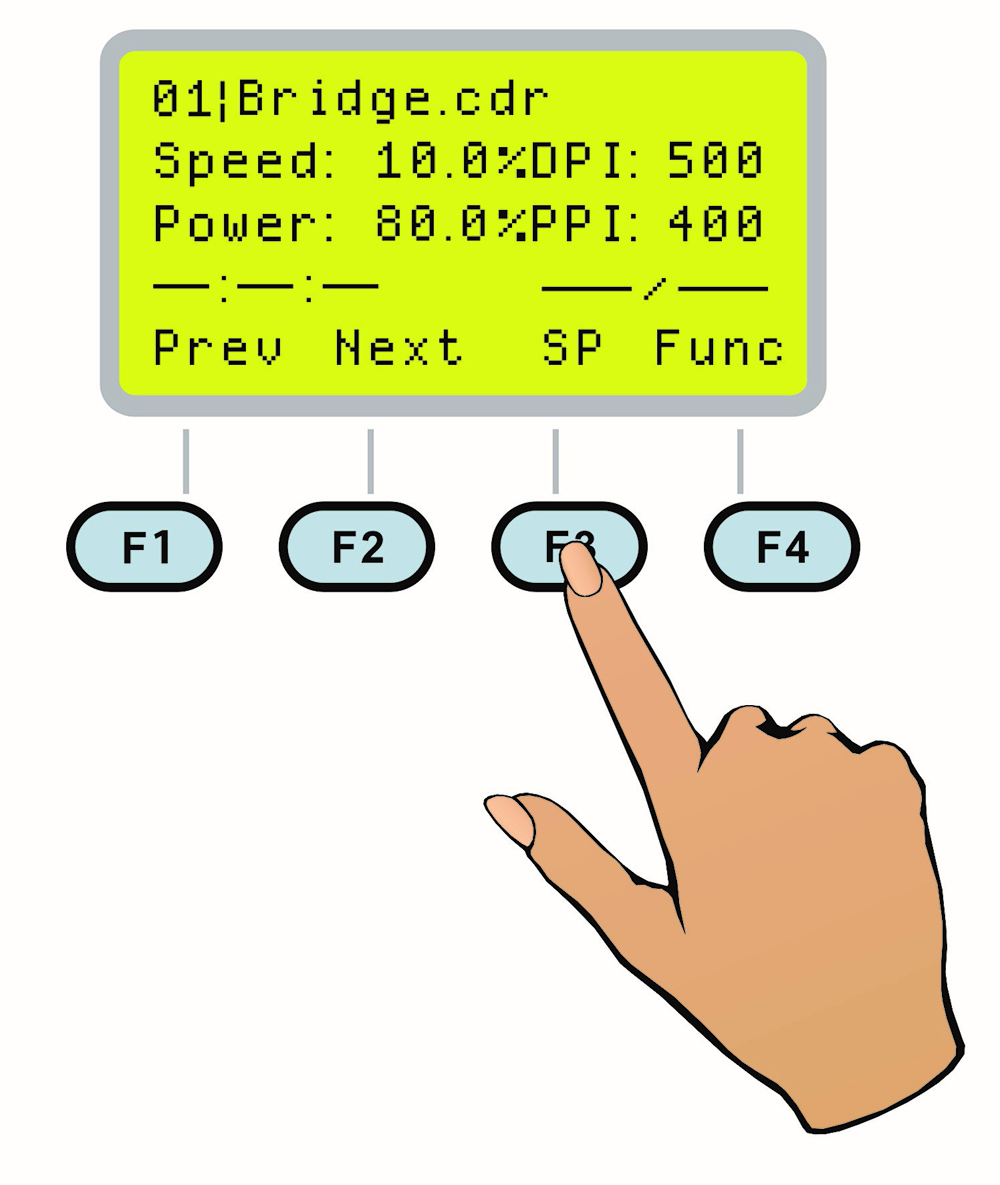
Step 4. After sending the file, click the F3(SP) button on the control panel to configure SmartCENTER.
Step 5. Move the carriage and align the red pointer with the four black dots in the top, bottom, left, and right positions, then press the F4 button in sequence to configure.
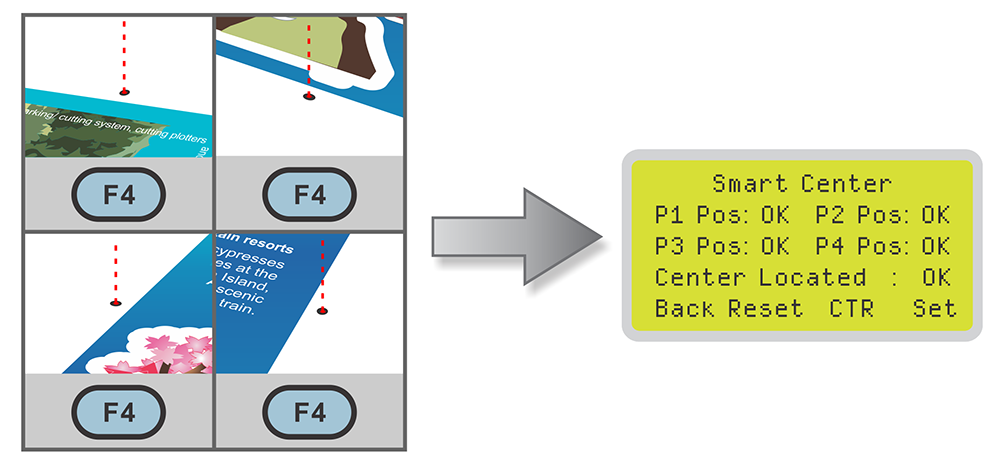
Step 6. Once the SmartCENTER setup is complete, the carriage will automatically move to the center point of the object.

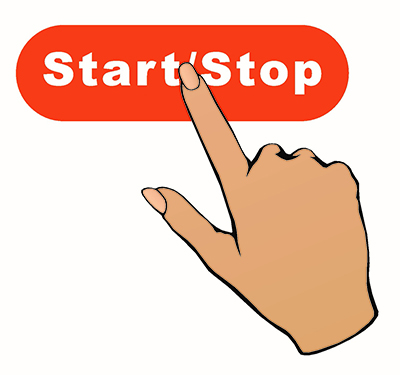
Step 7. Press Start and begin processing
Sample:
Suggested parameters:
| Spirit 60W | |||||
| Pen | Speed | Power | DPI | PPI | Bridge |
| Bridge Cutting | 10 % | 25 % | 500 | 400 | 1 mm |
| Normal Cutting | 10 % | 50 % | 500 | 400 |
|
| Bridge Cutting | 10 % | 50 % | 500 | 400 | 25 mm |
* The parameters are for suggestions only and should be moderately adjusted accordingly.
Tips:
- Before cutting, please make sure the paper is flat to avoid image being out of focus and result in defective cutting.
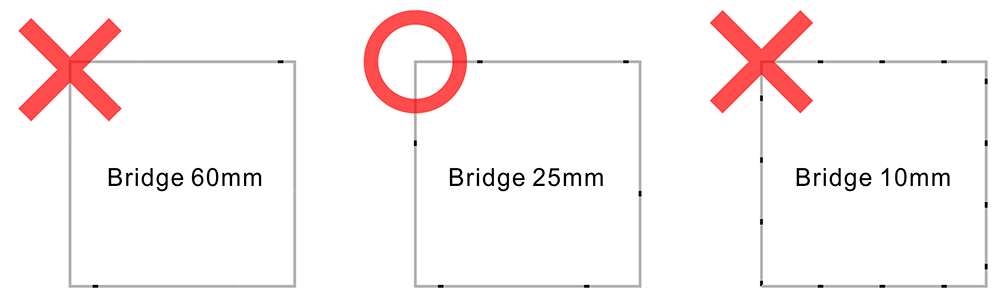
- Adjust the Bridge parameters moderately to facilitate the removal of the cut object.
▲ Setting a Bridge value that is too large (e.g., 60mm) can cause the cut object to easily detach, while setting a Bridge value that is too small (e.g., 10mm) can make it difficult to remove the cut object.
 |